
Over the past couple of years we have spent a large amount of time writing articles that revolve around SD cars for trail cameras. We have covered everything from common problems with SD cards, how to choose an SD card, and the correct way to to save, delete, and view photos from an SD card. The common theme with each of those articles is taking great care of the SD card, it is essentially the life blood of your trail camera. However, there tends to be a lot of questions that roll in about how to actually format the SD card to your trail camera.
Formatting an SD card to the trail camera that you are using is essential for good maintenance. It creates files directly from the camera, it keeps the camera from transferring firmware from one device to another, and in the end it is the only proper way to delete photos that are on an SD card from a trail camera.
The problem that we find is that each manufacturer uses a slightly different way of formatting cards, and deleting photos, and the terminology of formatting is not consistently used throughout all trail camera brands and styles of trail cameras. So we broke down some of the most common trail camera brands, to show you how to format an SD card in each style.
It is important to know that formatting an SD card will completely erase all photos on the SD Card. So you will need to download all photos you would like to save.
Formatting a Moultrie Trail Camera
Moultrie trail cameras do not show a “format” option on their trail cameras. However they do show a delete option, and according to their owner’s manuals, the act of deleting photos will automatically format the SD card inside the camera. Moultrie offers a large variety of cameras, and different series of cameras as well. Here is a break down of how to format an SD card for each series of trail cameras.
A Series
The Moultrie A Series cameras stands for all-purpose. Essentially the A series camera is designed for entry level users, with a set up system that is user friendly.
To Format a Moultrie A Series Camera:
- Using the mode selector slider, set the camera to SETUP
- Use the navigation buttons (the up and down triangles) until the display reads : dEL Y . This stands for Delete all Yes.
- Press the OK button. This will format your SD card, and delete all photos on your card
M Series
The M Series of trail cameras stands for management Series. These cameras typically have a faster trigger speed, a better night time photo, and are less susceptible to motion blur.
To Format a Moultrie M Series Camera:
- Using the mode selector slider, set the camera to Custom Start
- Select the Menu button
- Using the navigation (the up and down buttons) toggle until the menu screen reads Memory Options
- Select the Enter button
- Use the right and or left navigation buttons until the display reads : Erase All Images
- Select the Enter button
- Using the up and down navigation buttons change the option from NO to Yes
- Press Enter, This will format your SD card and delete all photos on the card
P Series
The Moultrie P series of cameras is their panoramic series. These cameras have movable lenses and flash emitters, allowing your camera to take photos with a larger field of view.
To format a Moultrie P series camera:
- Using the mode selector slider, set the camera to Custom Start
- Select the Menu button
- Using the navigation (the up and down buttons) toggle until the menu screen reads Memory Options
- Select the Enter button
- Use the right and or left navigation buttons until the display reads : Erase All Images
- Select the Enter button
- Using the up and down navigation buttons change the option from NO to Yes
- Press Enter, This will format your SD card and delete all photos on the card
S Series
The Moultrie S series is Moultrie’s top of the line camera. It has fast trigger speeds, 1080p video recording, and offers a 2″ display viewer.
To Format a Moultrie S series camera:
- Using the mode selector slider, set the camera to Custom Start
- Select the Menu button
- Use the up and down navigation buttons until the display reads : General Settings
- Select Enter
- Use the navigation buttons until the display reads: Memory settings
- Select Enter
- Use the Navigation buttons until the display reads : Erase All Images
- Select Yes
- Press Enter This will format your SD card as well as delete all images on the card
Formatting a Spypoint Trail Camera
Spypoint is known for their high quality cellular trail cameras, and lightning fast trigger speeds. No one however has accused them of making it simple to format SD cards. This is probably one of the more complicated ways we have seen to format an SD card.
- Use the up and down navigation buttons to access the Menu
- Highlight View and click the Ok button
- When this mode is selected, all the photos that are on the SD card will appear as thumbnails.
- Press the OK button to view a thumbnail in large format
- Once the photo is being viewed in large format, Press OK again to view the different options available
- Using the up and down navigation buttons, scroll down until Format is highlighted and press OK. This will format and delete all photos from the SD card
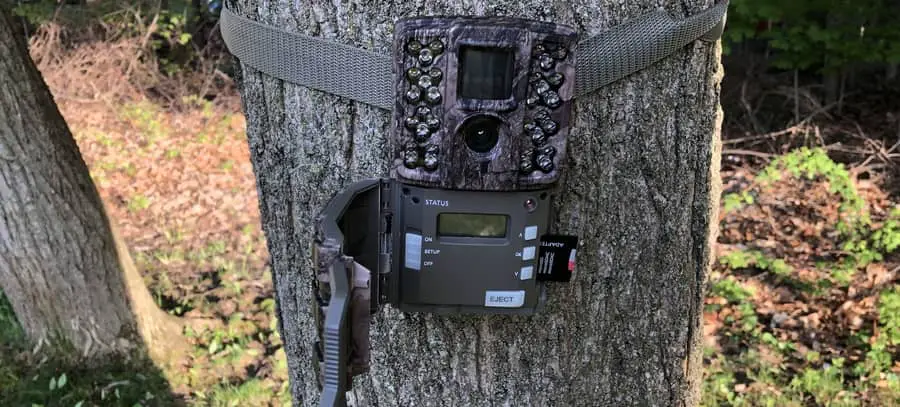
Formatting a Stealth Trail Camera
Stealth Trail cameras offer a variety of different models to choose from. Each model has a prefix letter or combination of letters that indicate the specific series of camera it is.
G, ZX , and RX series
- Slide the switch to Custom Setting
- Press the Menu button
- Using the Navigation arrow, scroll up until the display menu reads Format Card
- Select Enter
- The word No will start to blink, press the navigation arrow up once, until the word “Yes” is blinking.
- Press Enter. This will format and delete all pictures on your SD card
P Series
- Move the mode selection switch to read Custom Setting
- Using the Up and down navigation arrows scroll to find the menu setting that reads Delete SD Card
- Press Enter
- This option will blink. Using the up and down navigation arrows you will be able to switch the option to Yes
- Press Enter to Delete photos. This will also format your SD card
Q Series
- Using the navigation buttons press up or down to highlight the Custom option on the display screen
- Press Enter
- This will enter you into the custom settings. Once there, Press and hold the Enter button until you enter the Advanced options.
- Use the up and down navigation buttons to find Delete SD Card
- Press Enter
- The option will be blinking. Use the up and down navigation buttons to Yes
- Press Enter . This will delete and format the SD card.
Formatting a Bushnell Trail Camera
Bushnell has three main series of trail cameras: the Core, Impulse and Trophy cam. While the interface may look different between the three series, the steps to formatting an SD card is the exact same.
- Press the Menu button
- Using the up and down navigation buttons find the setting that reads Format. Do not select the option that says format image. This is a different setting all together.
- Press the OK button
- Using the Navigation button change the option from NO, to
- Press Ok. This will format the SD Card as well as delete all photos currently on the SD Card
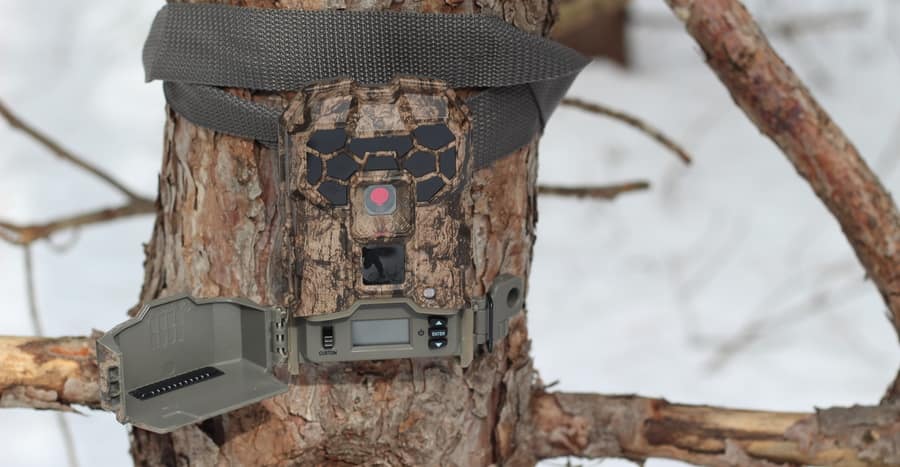
Formatting a Cuddeback Trail Camera
Cuddeback has a large variety of trail cameras, especially in their specialty link series of cameras. The majority of their camera’s however are broken into A, F, C and E series.
A and F Series
- Switch the rotary knob to the Menu position
- Press the A button until the screen reads CLr (Clear SD Card)
- Press the B button to access this option
- Press and Hold the B button to clear the SD card.
- The display will flash red when this is finished
C And E Series
- Press the Mode button until you access the menu option that reads Clear
- Press the More button to access this option
- Use the up and down navigation buttons to activate this command.
- You will have to use the same navigation button to confirm your selection.
- Your SD Card will be cleared and formatted.
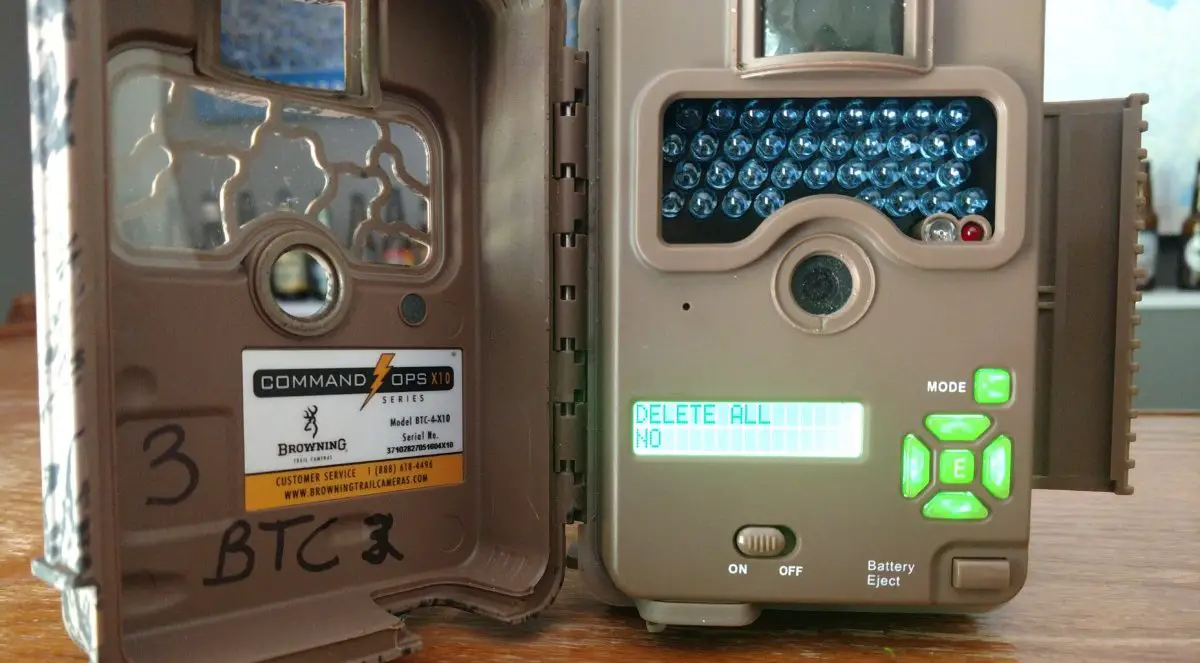
Formatting a Browning Trail Camera

All of Browning’s trail cameras function with the a similar menu system. This process works for all of their different models and series of cameras.
- With the power turned on press the Mode Button.
- Us the Navigation buttons to find the option that reads Delete All
- Press Enter
- Use the Navigation arrows up and down to display Yes
- Press Enter to delete all photos and format the SD Card
Formatting a Primos Trail Camera
Primos is known for their simplicity. Formatting an SD card in their cameras is no different.
Proof
- Move the slider to Setup mode
- Hold the Up and Down navigation buttons together for 2 Seconds
- The format of the SD card is complete
Mug Shot
- Move the Slider button to AIM
- Use the navigation arrows until the screen reads FOrN
- Press OK to access this option
- Use the navigation Arrow to change the display screen to read FOrY (format Yes)
- Press Ok to format and delete SD Card
Formatting an Exodus Trail Camera
Exodus has a relatively small line of very high quality trail cameras. The Trek, Lift II, and the Render all use the same menu options, making formatting very simple.
- Switch the slider button on the front of the camera to Setup
- Press the Menu Button
- Using the up and down navigation arrows, locate Format and press the Enter button
- Select the Yes Option and hit Enter again.
- Your SD card will be formatted and the photos and video will be deleted.