

Trail cameras can be an excellent tool for hunting, but for many years, I personally used trail cameras completely wrong, and I suspect that many camera users do the same today. I would get a picture of a nice mature buck, and send that photo to every person I knew, only to get the response of “you better get in there and hunt him.”
I took that advice and ran with it, and year after year I would get frustrated as I continuously found myself chasing after a ghost, finishing my season eating tags not backstraps.
It wasn’t until I began charting all of my trail camera photos from previous years that I realized that there is indeed a pattern to the madness. One single trail camera photo, can give me a lot more information than I originally thought, and the buck in the photo didn’t mean nearly as much as the information that can be learned from it.
While there are hundreds if not thousands of different data points that can be charted from a single trail camera photo, I have broken down the 25 most important things that a trail camera can tell you, to help you become more successful in the hunting woods.
#1 Inventory
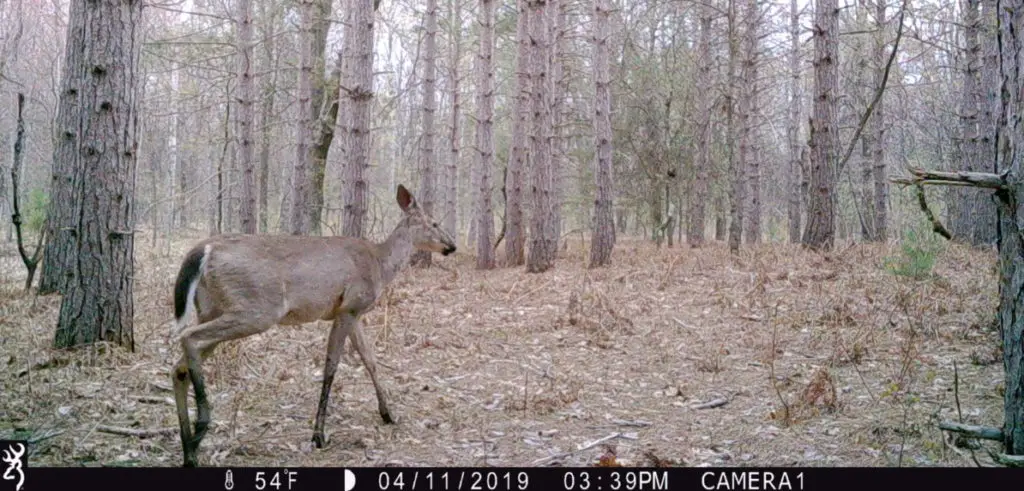
Using trail cameras for inventory is probably the most common use of trail cameras. Knowing what deer are using your hunting locations, and the quality of deer that are in the area, is a good indicator of what type of deer you would see from this hunting location.
While deer will move in and out of a location, knowing what deer call your hunting location home, is a good start for figuring out your hunting property. Taking inventory is important for both public land and private land hunters.
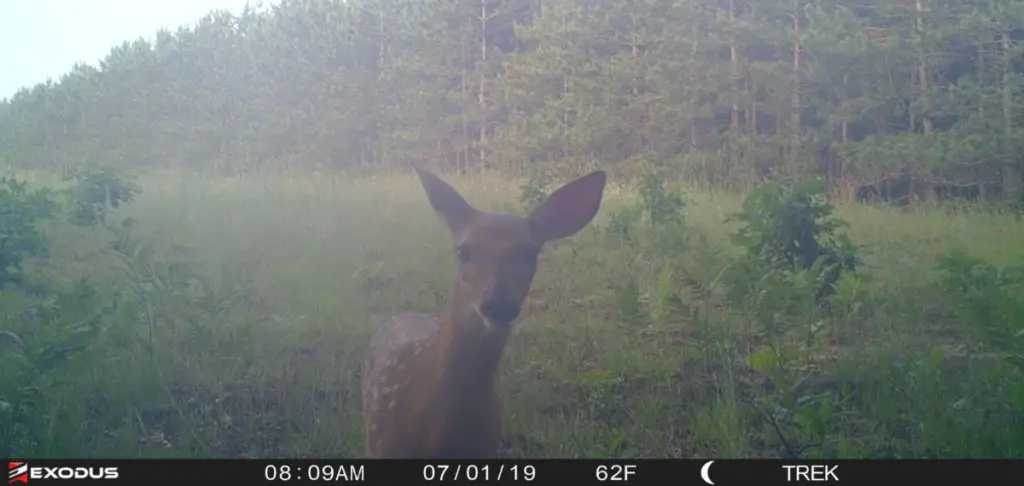
#2 Color of Antlers
The reason for the color of a deer’s antlers are a little disputed among the science community. Some claim that the color is dictated on how early a buck rubs the velvet off his antlers in the early fall. The theory here is that the earlier a buck rubs the more bleeding that will occur from the antler, and thus staining the color darker.
I however subscribe to a different theory. It wouldn’t make sense that all of the deer in Saskatchewan rub their velvet early, and thus they have traditionally dark colored antlers, while every deer in Kansas rubs their velvet late, providing them with much more white antlers. Rather the theory of the amount of time a deer spends in the direct sunlight dictates the color.
Think about it for a minute. The reason almost every Saskatchewan buck has dark colored antlers is due to the lack of sunlight they receive in the dense forest. The same would be true for bucks in Kansas who have a tremendous amount of open prairie and thus receive much more sunlight to “bleach” the color of the antlers.
So you might be wondering what this has to do with a trail camera photo. Well for some locations around the country there is a very diverse amount of habitat. Thick hardwoods back up to cedar swamps, that open up into cattail marsh. If you begin to find that each buck has different color antlers, it begins to shed some light on where a deer might be bedding most of the time.
A darker antlered animal might be in thick cedars most of the daylight hours, while a deer that has a lighter antler might spend more time in a cattail marsh where the sun might lighten the antler a bit.
#3 Muddy Legs
As we know a trail camera photo gives us a snap shot of a deer in one location at one point in time. But it never tells us the entire story of where they came from or why they are there. One indication that I have found to be a dead giveaway to that question is mud or water on a deer’s legs.
When you look at your hunting property from a birds eye view, in most scenarios there are only a few options in which a deer would find themselves in mud. Depending on the time of day, the direction they are moving and the available food source, the little bit of mud on the legs is a great indicator of where the deer has come from. Just another small piece to a larger puzzle.
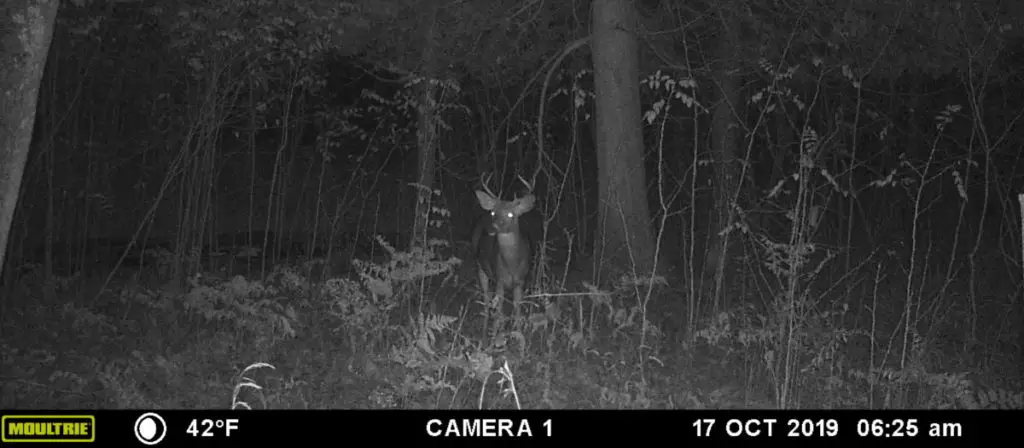
#4 AM vs PM
When you are using trail cameras as a tool to better understand the movement of deer in your hunting area, one of the first things you should look at is if the photo was taken during the morning or evening.
I can not tell you how many times I have heard of people getting a nice buck on camera, and then immediately go into that area to hunt that deer. While being aggressive can reap a lot of rewards, knowing if an area is frequented more often in the morning or evening can help you make the best decision on when to hunt them, rather then being aggressive just for the sake of being aggressive.
#5 Daylight Hours
Aside from just deciding if an AM or PM hunt is in order, it is even more important to understand if a deer is visiting during daylight hours or at night. I have gotten hundreds of photos of incredible bucks during night time hours, but the problem with night time photos is that you can not hunt during the night time (obviously right). All this information gives you is the fact that somewhere there is a deer in the area.
You can use this information two ways; either focus on the deer that are around during daylight hours, or spread your cameras out to try and find that deer’s daylight patterns. Either way, the frequency of movement during daylight hours gives you a starting point on where to look.
#6 Time of Day
So now you know if a deer is in the area during the morning or evening, and you are aware if the deer visits during daylight or night time. The key to focus on now is the exact time the deer visits. The exact time can give you a clue as to where the deer is during most of the day.
For example, if you have a deer that tends to visit a certain location around 10AM, then you are likely to be very close to his bedding area. The same can be true for a photo that is during night time hours, but is close to the sunrise time for the area.
If however you are getting photos of a deer at 11PM you might be as far as two miles from where the deer spends his time during daylight hours. Always consider the exact time of every photo to get a more clear picture of a deer’s patterns and how they relate to bedding.
#7 Day of the Week
Now, I am more than aware that deer do not have calendars, and do not only visit a certain area on a certain day… or do they? From extensive trail camera surveys over the years I have found that some trail camera locations are most often visited on Saturday, Sunday, and Monday’s.
It took a while to truly figure this out, but in hindsight it is very simple, deer are using this location to avoid hunting pressure. With Saturday and Sunday being the most widely hunted days of the week, deer seemingly just shift their patterns to a more secure location to avoid the sudden increase of human activities in the woods.
When people go back to work, and leave the woods undisturbed, naturally deer will filter back into their normal routines until the next influx of weekend hunters. Using trail cameras to understand what days your deer herd uses a specific area, might pay off during those tough hunting conditions when hunting pressure takes a toll on their movements.
#8 Hunting Pressure
Speaking of hunting pressure, I often use a camera or two for the specific purpose of monitoring hunting pressure from some well known access points. I will hang a camera extremely high into a tree and point it down toward a heavily used foot path. Having this distinct knowledge can tell me if deer are being pushed deeper into a property or if they are relatively undisturbed.
#9 Historical Days
One of the things that is often overlooked when running trail cameras, is the actual date in which a deer shows up. Keeping a log of what days certain deer show up into an area, makes it easier to predict their movements the following year.
I have one trail camera on a certain property where I get a photo of a shooter buck every year on October 27th. It is never the same deer, but for 5 straight years a shooter buck has shown up on that day. At another location I have had the same buck show up for 3 consecutive years on November 8th.
Knowing the exact dates and the historical dates from years past, make my decision process very simple on where to hunt on those particular days. It is definitely worth keeping track of historical data for that exact purpose.
#10 Wind Direction & Wind Speed
If you get onto the website Weatherunderground, you can look up historical weather for your specific area. Look at the different wind directions when you get a big deer on camera. While you will find that deer move through the area on almost any wind direction, you will begin to notice that one or two wind directions will be more prevalent than any other.
Most people look at wind direction and determine how deer move through their area. Don’t fall into this trap, the wind direction has very little to do with how a deer moves through a property but more on how they bed on a property.
If you are getting a few mature deer consistently moving by a camera on an East wind, it is easy to conclude that deer are bedding in a certain location on that wind. This makes planning your hunt very easy if you keep an eye on the projected wind directions for your area.
The wind speed is also very important to pay attention to. I have often found that in many of my locations that I rarely get a trail camera photo of deer when the wind is above 13 mph. In other locations, that seemingly block wind naturally, such as dense pine stands and leeward side of ridges, are not affected by wind speeds as much.
#11 Direction of Travel
The direction a deer is traveling combined with the time of day, the wind direction, the amount of hunting pressure or any other information of food sources or bedding areas, will give you a distinct understanding of what a deer is doing, and where they are going.
For instance, if you get a photo late in the evening of a target buck, that is moving from the East to the West, there are two basic things you can glean from this information:
- Most likely the bedding is to the East of your trail camera
- Most likely the deer is heading toward a food source that is located to the West of your trail camera.
The bedding and feeding sources are two of the most important locations you need to pinpoint when hunting deer. By studying something as simple as the direction of travel can point you in the right direction to unlocking that vital clue.
#12 Doe Bedding Areas
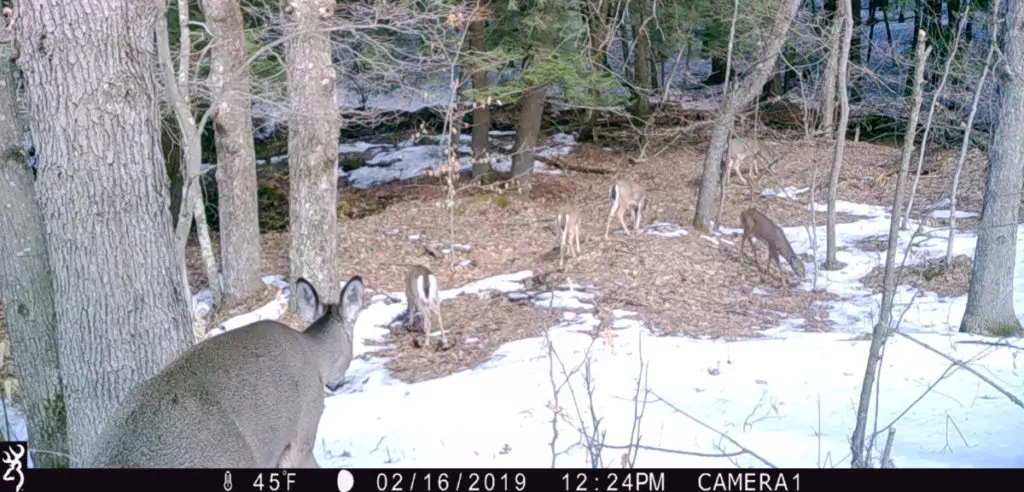
In most situations it can be easier to pattern does than it is to pattern bucks. And as the saying goes, “hunt where the girls are.” I typically run about 20% of my trail cameras to directly try and pattern doe family groups. This gives you not only a good idea of where they bed and feed, but where, and when bucks will show up during the rut.
Typically I find areas with a lot of deer sign, not just buck sign. I target these areas with trail cameras and get a general direction of travel, and begin to pinpoint where the bedding area is from there. Its actually as simple as it sounds. And understanding how does use the terrain will help in finding the bucks during that late October chasing phase.
#13 Does In Heat
Every year there seems to be a few day span in which many different bucks will show up on one camera location. This is not just a coincidence, but rather it is a sign of a doe in the immediate area coming into estrus.
This date is very important to keep in mind year after year. As long as the doe survives until next year, she will go into heat the same time the following year, meaning there will be another flood of bucks vying for her attention.
Take note of this date and expect to spend a few long days in the stand. The effort will be rewarded with an action packed few days.
#14 Moon Phase
I have never been a big believer in the moon phase in correlation with the movement of deer. With that said there are a lot of really successful hunters, (more successful than myself) that swear by it. In fact they base their entire hunting strategy around the phases of the moon.
You can figure out for yourself if the moon phase correlates to more movement in your area by going through historical moon phases, and relating them back to trail camera photos. You might be surprised, there could be a missing key to your hunting approach.
#15 Overhead and Underfoot
While I am very skeptical of the moon phase being a determining factor on buck movement, I am rather sold on the overhead and underfoot moon times. These are also called major and minor feeding times.
The basis of this theory is that due to the gravitational pull of the moon when it is directly overhead, or direct on the other side of the earth, it increases a deer’s active feeding times.
To many it might seem like a far fetched idea, but there are so many things in nature that are associated with these times, including the high tide and low tide of the ocean.
Either way, you can check historical overhead and underfoot times, and compare them to your trail camera photos. It might give you a good indication when deer will hit food sources, which is a great tool for planning your next hunt.
#16 A Deer’s Personality
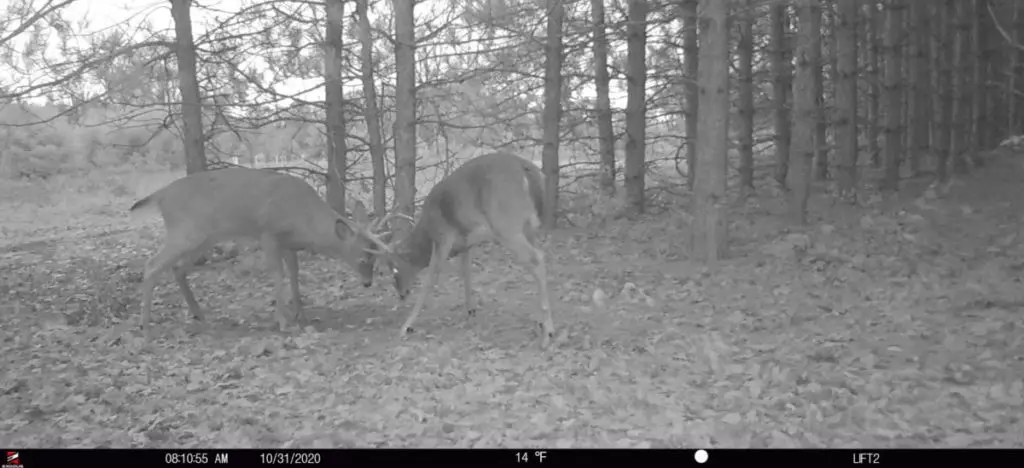
Often times, while using video mode on your trail camera you have the ability to examine the type of personality a particular deer might have. How it relates to other deer, how aggressive it is while working a scrape or making a rub. If it is more inclined to fight or flight, or whether it simply avoids other deer altogether.
The significance of understanding the deer’s personality might come into play with how you hunt a particular deer. We have all had that deer that comes in charged up to a rattle bag, and also the buck that runs away with his tail between his legs to a simple grunt.
Knowing the personality of a particular deer will give you the advantage of knowing when to call, and when to sit and wait. All of this information you can glean from just a few trail camera videos.
#17 Barometric Pressure
In trail camera photos you have the ability to see how barometric pressure affects the movement of mature deer. Looking at historical weather, and relating them back to past trail camera photos, you will likely see a significant trend in how this works.
What I have noticed personally over the years is that deer will move if the barometric pressure stays steady, but it is less predictable when and where they move. However, every time there is a large drop in pressure, it is consistent in getting mature deer on their feet.
Check this out for yourself in your area, it might make the difference in predicting movement of that mature buck on your property.
#18 Cloud Cover
Years ago I began tracking every possible weather condition and comparing them to trail camera photos. One of the most surprising revelations that I have found over the years is that mature bucks, almost exclusively, move when there is cloud cover.
Cloudy and mostly cloudy are the most common conditions that I have found as conditions that get bucks on their feet. I am not a biologist and have yet to understand what cloud cover has to do with buck movement, but from 7 years of historical trail camera data, during hunting seasons I have had a total of 4 mature bucks move during sunny conditions.
Whether this is a situation that is specific to my particular locations, or is an overlooked trend that is rarely talked about, it is worth observing and taking note on your own hunting properties.
#19 Estimation of Age
For many, the age of a buck is as important, if not more important, then the size of his antlers. There is no better way to age a deer than from a handful of still photos that allow to you to study a deer’s body size in determining age. The National Deer Association as a great article that gives a detailed explanation of how to do just that.
Taking the time to age specific deer from trail camera photos allows you to know the age of a deer before he walks by your stand. It gives you the opportunity to predetermine if he is in the age class you are looking for, without having to try to age him in the moment.
#20 Deer Density
Often times when looking for a new property to hunt, the density of deer in the area can be an important factor. Setting out trail cameras to run a survey of the area, can give you all you need to know about the amount of deer that a particular area holds.
Counting the amount of different individual deer that show up on trail camera, will show you how many deer use this area as a part of their home range.
This information can point you in the right direction of where to hunt. If an area has a substantial amount of deer, focusing your efforts on food sources may pay dividends. With a high volume of deer, food sources such as acorns, or farmed fields can become a competitive environment especially when over browsing can occur.
If a specific area is low in deer density, you might want to focus your hunting efforts in long range movements, giving you the best opportunity to intersect a deer who is moving from bedding area to bedding area in search of a hot doe.
#21 Buck to Doe Ratio
Using trail cameras to understand the buck to doe ration of a particular area is vitally important in helping you determine the quality of a hunt might be during the rut.
The closer the buck to doe ratio is on a particular area, the more competition there is for bucks vying for breeding rights with does. This often creates a much more aggressive rut, forcing bucks to be on their feet for longer periods of time.
However, if the buck to doe ration is skewed heavily in favor of does, the rut tends to be less action packed, as bucks often have their pick of which doe they will breed. This brings us to another scenario, where harvesting of does might be in order to even out the ratio, creating a healthier dynamic in your area.
#22 Buck Age Structure
When you are managing a property, one of the most important aspect of a healthy herd is to have a diverse and balanced age structure. What better way to truly understand the actual age structure of the deer, than to have a catalogue of photos of all the bucks that frequent a property?
#23 Antler Score
One of the best things about running trail cameras is the ability to begin to dream about the biggest buck on your property. Seeing him grow from early velvet to hard horns, gives you a sense of anticipation.
There is no type of anticipation quite like estimating the score of his antlers. We have a detailed guide as to how to score a buck from a trail camera photo, that will point you in the right direction.
#24 Precipitation
One of the interesting things that I have found over my years of tracking weather in relation to trail camera photos is that the amount of precipitation determines how much they move. I have one camera set, that over the course of 5 years have not picked up one single deer moving during the rain or snow. That same spot however is littered with deer immediately after a storm.
Each trail camera location is different, and each property is different, taking the time to figure out the amount of movement a particular spot gets during rain and snow, could help determine where you should hunt during the next rain storm.
#25 Fawn Recruitment
One of the most overlooked areas of trail camera photos is the growth and stability of the fawn crop. The sign of a good healthy deer herd is a high recruitment rate of fawns. If only a few fawns are being recruited into the deer herd, it might be a sign that there are underlying issues in the area. Possibly high predator rates, low source of food, or malnutritional does coming out the winter.