
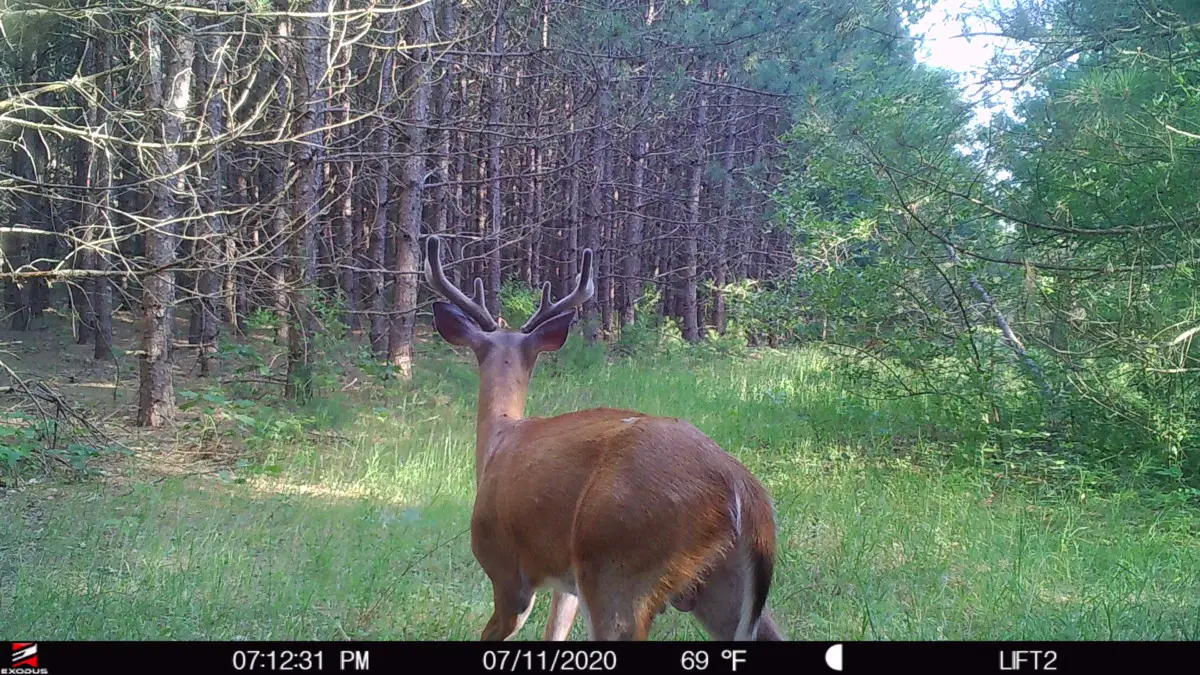
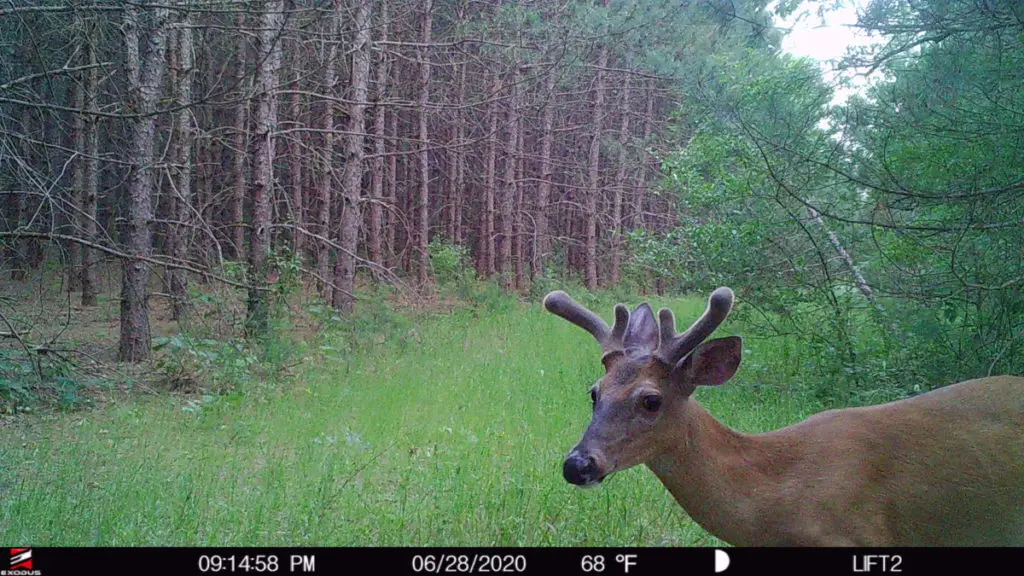
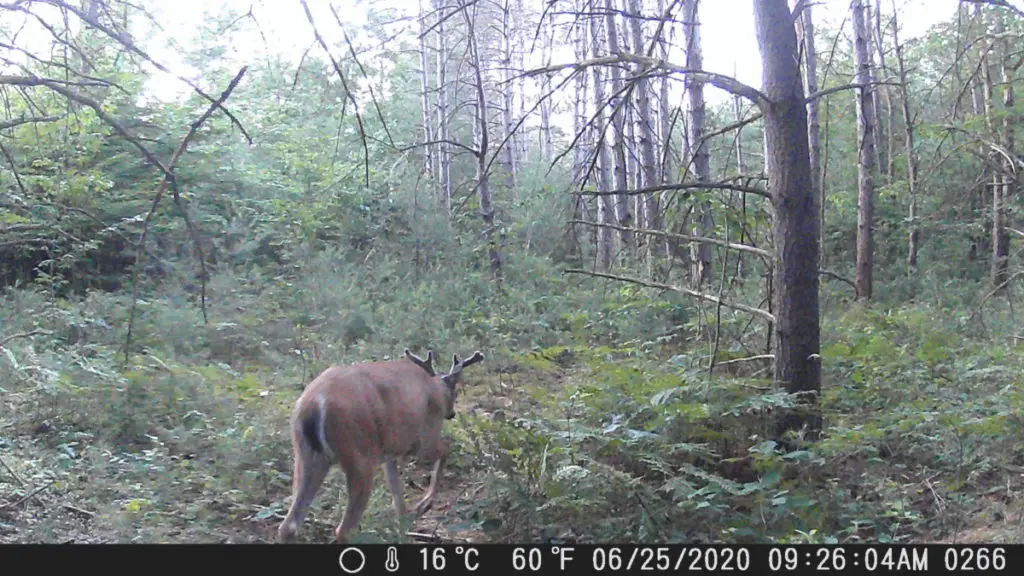
If you are using trail cameras as a tool for scouting deer, the chances are you have spooked deer off your property. At one time or another you have probably heard the argument that trail cameras spook deer. The truth is if set up and used correctly, the trail camera itself is not spooking deer, it is the people checking the cameras that are.
There is only one truthful way to never spook deer when running trail cameras, and that is to never check them. While this defeats the purpose of trail cameras all together, you can plan your trail camera checks, and use precautions to minimize the damage. After all, when you need the information that a trail camera could provide, you simply just have to go in and check them.
The key to spooking less deer when checking cameras is to check them during mid day, when the weather is dry. Spend as little amount of time at the trail camera as possible, and have a planned access route that will disturb as few deer as possible.
Sometimes this is easier said than done, but having a thorough plan of when and how to check your cameras, will minimize the amount of deer you disturb.
When to Check Trail Cameras
I have written this before, in other articles, but it is worth repeating as it is the basis of keeping your property as undisturbed as possible; Only check trail cameras when you need the information that is on the camera.
The key word is need. If you ever find yourself saying to your wife, husband, or hunting partner, “I want to see what is on that camera” stop and realize you are in the “want” category. The need should always out weigh the want. You need to keep your area clean of human intrusion. You need to allow deer to follow their undisturbed patterns. Therefore, you need to stay out of the woods.
With that said, there are times, however, when there is a need for the information on the trail camera. Whether you are trying to locate a buck, or are trying to plan your hunt, the information a trail camera can give you outweighs the concern of possibly spooking deer.
There are specific times when you can check your camera to minimize the impact your presence might have on deer behavior.
Time of Day
I have read and listened to hundreds of hunters give their opinion of when the best time of day to check trail cameras is. Their ideas range anywhere from mid day to after dark, and anywhere in between. But what is actually the right time of day to check trail cameras?
The key to choosing the time of day is to minimize the amount of deer that you bump into. The more deer that are on their feet, the higher chance you have of bumping deer. When deer are stationary, and bedded down, the only movement you need to worry about is your own. This is why the best time of day to check trail cameras is after the sun reaches its peak in the sky, typically around 1-2 pm.
The reason for this time of day is quite simple. In most cases deer will bed down shortly after sun rise. As the sun begins to move in the sky, the shade that is created changes throughout the morning hours, promoting deer to get up and relocate their beds. While sometimes this is simply just a movement within their immediate bedding area, other times, this is a complete relocation of where they are bedding.
After the sun hits its peak in the sky, there is a short 2-3 hour window where the shade that is created changes very little, and deer are more prone to stay in their beds during this time. This creates a time period where deer are less likely to be on their feet, and a scenario where it is less likely you will randomly run into them while checking trail cameras.

Weather
Again, I have heard just about every scenario of weather conditions that are ideal for checking trail cameras. The most popular one that keeps circling around the hunting industry is during or before a rain storm. The theory is that the rain will wash away all of your scent from an area. While I understand the concept behind this, there needs to be a significant amount of rain to do so.
Deer actually use moisture in the air to detect scents. This is why you often see a buck during the rut lick its nose. The moisture that is created helps the scents stick to their nasal passages, making it easier for them to detect sent.
With this being the case, checking cameras on dry days, will help your scent from holding in the air longer. The other aspect of this is trying to check your cameras on cooler days. Warm air holds humidity better than cooler air. The cooler the air, the less chance that your scent will linger in an area.
I am not a scientific expert when it comes to humidity and scent molecules, but if you are interested in learning more about how moisture in the air affects how deer smell, bow hunting magazine, has a great article that explains this concept in an easy to follow way.
How to Check Trail Cameras
Just as important as when you check trail cameras, is how you check trail cameras. You could pick the perfect time of day, with the ideal weather conditions, but if you bust into a trail camera set, without considering wind conditions, thermals, your entry and exit routes, and linger at the camera for a long period of time, you could be spooking just as many deer as if you walked right into their bedding area.
Considering how to check your trail cameras before venturing into the woods is an overlooked process that could have positive benefits.
Understanding Wind Direction
One of the biggest benefits of knowing a property is knowing where deer will be during the day time. Understanding their bedding areas is a key to making sure that you spook as few deer as possible.
Having this intel will allow you to know how to play the wind and thermals, assuring that you will not blow any of your scent into their beds while checking trail cameras.
While out in the field it is important to keep track of the wind direction. Never check a camera that is up wind of a bedding area. A deer’s sense of smell is their strongest sense, and one whiff of human odor will send them out of the area.
When possible only focus on checking cameras that are on the down wind side of bedding, and in areas where they do not bed. This helps in keeping the deer on their normal patterns, allowing you to get data of natural movements.
Creating an Entry Strategy
Once you know the prevailing wind direction, it is important to create an entry and exit strategy to your cameras. Similar to walking into a tree stand in the fall, you want to make sure that your path to the camera is as clean as possible.
I like to look at the wind direction and then pull up my OnX maps and make a plan for how I am going to get from one trail camera to the next. Sometimes, this takes me on long loops around areas I am trying to avoid, but planning ahead keeps you from getting into situations where you find yourself blowing out bedding areas.
Creating a System
Lets consider a scenario in which you took into consideration the prevailing winds, the affect of thermals, and you planned a detailed entry and exit route. You get to your camera, set down your bag, and pull out your SD card from the camera. You put the camera into a SD card reader, check the photos, then fumble through your bag to find your new SD card and load it into your camera. Then you decide that your batteries are running low, so you again go into your pack to find new batteries and replace them.
The total time you spend at your trail camera site could be anywhere from 5-10 minutes, all while the pack that was riding inside the cab of your truck all day has been sitting on the ground in front of the camera. Do you think that a passing deer will not be able to pick up all of that scent?
This is a situation that I personally have done hundreds of times, and at that time I didn’t realize the affect that I was causing on the deer moving through the area. This is why creating and sticking to a system is so important while you are at your trail camera site.
Every time I go into a camera site, my goal is to be at that camera for 30 seconds or less. The key to this is having a detailed system that allows me to get in and out as quickly as possible. Here is how it works:
- Before getting to the trail camera, I place the new SD card in my right pocket, and a fresh set of batteries in my left pocket.
- When I get to the camera I remove the SD card from the camera, and put the new SD card in. The old SD card goes into my right pocket.
- I turn the camera back on and check the battery level
- If the batteries need to be changed, I take the new batteries out of my left pocket replace them, and put the old batteries back into my left pocket.
- I turn the camera back on, wait to make sure the camera is counting down, and walk away.
- Once I get out of the area, I can then check the photos with an SD card reader, to make sure everything is working, and get a general idea of the deer that had been moving through the area.
- Then I take the old batteries out of my pocket and put them in a bag for dead batteries, place the old SD card in my SD card holder, and put a fresh set of batteries in my left pocket and a new SD card in my right.
- Now I am ready to head to the next trail camera
If you notice, at no point did I take my pack off my back and place it on the ground at the trail camera site. I didn’t loiter around and check my SD card while I was at the camera. I waited to do all of these things once I got away from the trail camera. This gives me the ability to get in and out of the trail camera set quickly while leaving as little footprint as possible.
On those rare occasions when I realized that the camera was not working properly, I take a replacement camera that I always carry in my pack, and head back into the spot and quickly switch out the cameras. I wont spend time at the camera trying to figure out what has gone wrong, I can do that later at home. The object at this point is to just get a camera that is working in the right location without spending too much time in the immediate area.
While I realize that this creates two trips into the camera set, it happens so rarely that I find it is better to take two trips into one location rather than spend 10 minutes at every location.
Considerations for Checking Specific Trail Camera Locations
Not all trail camera locations are the same. Each location has its own advantages and disadvantages, and knowing this before going in to check them can create an advantage for you.
Lets break down a few popular trail camera locations, and how to access them.
Field Edges
Field edges are one of the easiest locations to check trail cameras. They offer great intel on deer in the area, and checking the cameras is less intrusive than locations deep in the woods.
When possible, I like to drive my truck right up to the camera, leave the truck running and quickly switch out the card and leave. Deer are custom to vehicles driving in fields, but as soon as the vehicle shuts off, deer become much more aware of what is happening around them.
In the Spring and Summer months, deer will typically bed in close proximity to food sources, making field edge locations a bit tricky, but as long as you make sure that your intrusion does not go beyond the field edge, the deer will typically be more relaxed with your presence.
Funnels
Funnels are anywhere that deer are naturally funneled through. Creek crossings, between bedding areas, and paths between food and bed. When checking trail cameras in these areas, always be aware of wind directions, and make sure your time at the camera is as short as possible.
Bedding Areas
When running standard trail cameras, it is difficult to use them around bedding areas. Deer are keenly aware of everything that happens in this immediate area, and it is impossible to check trail cameras without creating awareness of your presence.
With that being said, if your plan is to place a camera in the immediate bedding area, plan to hang your camera high and out of sight, and expect to leave the camera for long term surveillance, and historical data.
Another option, one that is less risky than setting a camera directly into bedding area, is to find the entry and exit locations of the bedding area, and set cameras outside of the immediate bed. This will give you the same information as to when a deer is using the bed, and the ability, with the right conditions to be able to sneak in and get that information when you need it.
Using Cellular Cameras in Sensitive Areas
In those sensitive areas such as bedding areas, or scrape locations that are immediately adjacent to bedding areas, there is one option that allows you to still get up to date information, and that is cellular trail cameras. The advantage of cellular trail cameras in these situations is obviously that you do not have to physically check the camera, allowing you to get information without disturbing the immediate area.
Running cellular trail cameras, however come with their own set of drawbacks. First, you must have cellular service in the area. This might seem obvious, but often times in those sensitive areas, you might struggle with finding good service.
Secondly, the biggest issue with cellular trail cameras is the battery life. While you will not need to physically go into a bedding area to check the camera, the battery life is very short, so you will need to supplement the battery power with external power such as solar power. This will create another issue of concealment.
If you can get around these two obstacles, using cellular trail cameras can be extremely beneficial in area where deer are more sensitive to human intrusion.
Conclusion
It is inevitable, that if you run trail cameras long enough, you will eventually run into a situation where you will spook deer. The idea is to minimize these instances by following a simple set of guidelines.
- Only check trail cameras when you NEED the information
- Go into trail camera locations during times of the day when deer are less likely to be on their feet, like during the early afternoon
- Use the weather to your advantage, choosing days when it is dry and cool
- Spend as little time at the trail camera as possible. Have SD cards and batteries already in your pockets ready to go
- Minimize you scent in the area as much as possible, never set you pack down on the ground
- Use prevailing wind directions to determine a safe and effective entry and exit route
- Use cellular trail cameras in sensitive areas such as bedding, staging areas, and scrape locations.
While it might seem like a long laundry list of things to do in order to just check pictures on a trail camera, taking these precautions will benefit you in not only the information you are able to obtain, but also during the hunting season.