
One of the most frustrating aspects of running trail cameras is the length of battery life your trail camera gets. If you are running multiple cameras, seemingly every time you check your cameras, there is at least one or two that requires a new set of batteries. Changing out those batteries takes time, and costs money, then there is the process of disposing of all those batteries at the recycling center once you get them home.
One of the most popular alternatives to countless battery changes is the use of solar panels in conjunction with your trail camera. The addition of a solar panel can add years to the length of a set of batteries, saving you money, and possibly more importantly saving you time in the field.
How A Solar Panel works
The inner workings of a solar panel can become very complex to understand. The basis of a solar panel is that it contains what is called photovoltaic (PV) cells, or solar cells. These cells within the solar panel present a characteristic that is known as a photovoltaic effect, which allows them to absorbs the photons that are within light, and releases electrons. The electrons are then captured and stored, and are able to be used as an electrical current.
The electrical current that is stored is a direct current (DC). When you use a solar panel for a house, the DC will need to be converted to alternating current (AC) by using an inverter. Which is why home based solar panels are so expensive. Luckily for Trail camera users, the power source that runs trail cameras is DC and an inverter is not needed.
Each solar panel is different, depending on the make and model. Most store the electrical current within an internal battery that is enclosed in the solar panel. This allows the solar panel to store energy and have a reserve of electricity during night time hours.
Once charged, installing a solar panel to a trail camera is very easy. Simply use the power cord from the solar panel and plug it into the auxiliary port (AUX) that is typically located at the bottom of your trail camera. I recommend still installing the camera’s recommended batteries. These will be used as a back up in the event that the solar panel is not able to produce enough solar energy. Not often, but periodically, there will be a wave of night time activity around your trail camera that will drain the stored energy from the solar panel, and it is always good to be covered until the solar panel has the ability recharge.
Camera Output
One thing that you need to be aware of is the amount of voltage your trail camera requires. Most cameras on today’s market are using 12 volt systems, but as the industry is going to smaller more compact sized cameras, there has been an influx of cameras that are requiring only 6 volt systems.
Solar Panels will come in a variety of voltage applications as well, so be sure to check your trail camera’s owners manual to ensure that you are matching a solar panel for the right amount of voltage your trail camera requires. Having too little or too much voltage from your solar panel will cause failure.
When to use a Solar Panel
Cellular Cameras
The most common use of solar panels are when used in conjunction with wireless cameras (cellular, wifi, bluetooth), and for good reason. Most cellular cameras will have the battery life of just 25% of the normal stand alone trail cameras. The reason for this is simply the amount of network searching that the camera needs to do in order to stay connected to cellular service, and the amount of battery that sending photos through cellular service actually takes.
If you think of a cellular trail camera in terms of your cell phone, the times you eat away the battery the fastest is when your phone is searching for service, and when you are downloading and sending photos (aside from searching the internet of course).
This is why it is a great investment to use a solar panel for cellular cameras. The entire purpose of using cellular trail cameras is in order to get the needed information about a particular area without having to go into it and potentially mess with the area. If the battery on your camera however needs to be changed every other month, it sort of defeats the purpose altogether. With a solar panel, you will have virtually unlimited battery life, and only need to go into the camera location when you want to move it.
Long Soaks
If you use your trail cameras in areas out of town, in a different state, or miles back into a swamp, the likelihood of checking the cameras on a regular basis are pretty slim. Often times these trail camera sets can go months without you ever having the time or need to check them. Using large capacity SD cards to capture all of the photos, and using an external battery source like a solar panel makes sense.
Saving Money
While using a solar panel, can be classified more as a convenience than a huge money saver, over the life of the camera you can in fact save money. Figuring if you buy the recommended lithium ion batteries for your trail camera the average price per battery is around $1.30. In a 12 volt system battery, you will need 8 batteries, totaling $10.40.
Most cameras, with a decent amount of activity will last 6-10 months on a set of batteries. Meaning you will spend roughly $20 a year keeping batteries fresh in your trail camera. While at this rate, it would take you 5 years to recover your money from a $100 solar panel, over the course of time it will pay off.
Using cellular trail cameras on the other hand, you would need to change out batteries every 2-3 months, depending on a host of factors such as frequency of photo uploads and camera settings. In this case though you would be spending roughly $80 throughout the year, making the purchase of a solar panel a much quicker return on the investment.
Where to Place a Solar Panel
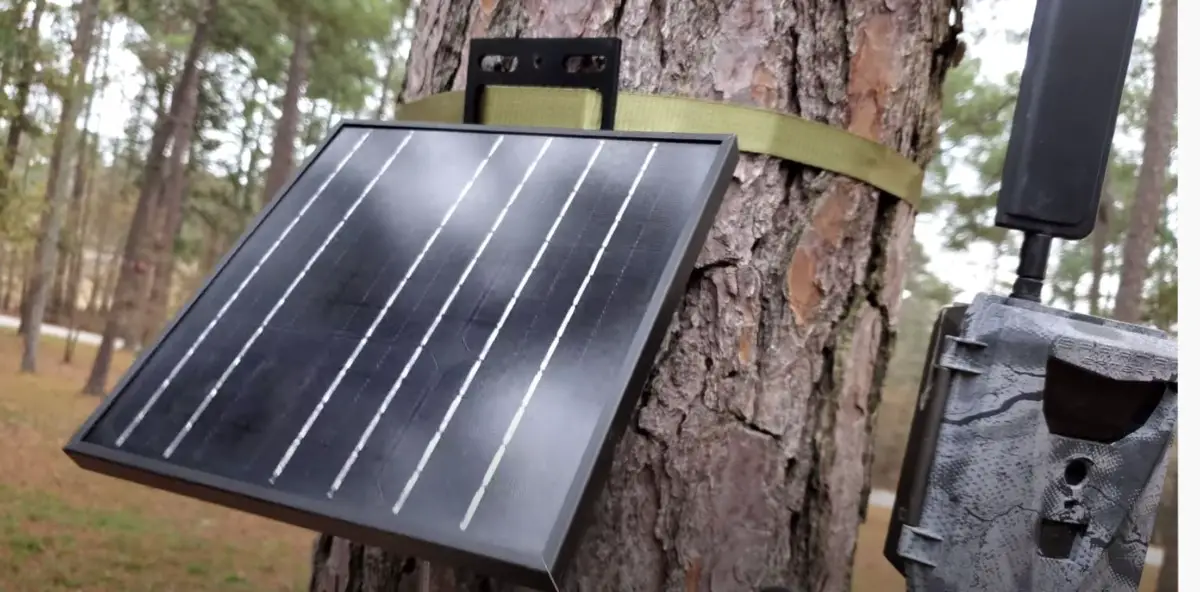
There is a misconception that a solar panel needs to be in direct sunlight in order to be effective. While direct sunlight would have a faster charge, the solar panel itself absorbs photons from light, whether it be direct light or indirect light.
Most often you can hang the solar panel on the same tree as the trail camera itself. Just be sure that it is not under dense cover, that will impede the amount of light that will get to the panel.
Make sure to angle the solar panel slightly up, rather than slightly down as well. The more light that the panel can get the better charge it will have to the internal battery. Since light energy comes from the sun, which is obviously above us, it makes sense that an angled solar panel toward the light would collect more energy.
Buying a Solar Panel For Your Trail Camera
There are many options on the market for solar panels. Some are brand specific, that are specifically recommended for the make and model of trail camera you are using. However there are also many after market solar panels that will also work for you trail camera.
Buying Brand Specific
The thing about buying brand specific solar panels is that you know it is compatible with the trail camera you are using. It has been tested and fit perfect for that camera. Here is a breakdown of some of the more notable brand specific solar panels on the market.
Exodus SP18 Solar Panel
The Exodus SP18 is a 12 volt solar panel system that comes with an internal rechargeable 12v Lithium ion battery, and a 5′ connection cable that connects to all Exodus trail cameras. You can also use this solar panel with any other 12 volt trail camera system, but will need to purchase the right connection cables to your trail camera.
Moultrie Game Camera Power Panel
The Moultrie Game Camera Power Panel is a solar panel combined with a 12 volt internal battery that is compatible with all Moultrie 12 volt cameras that were manufactured after 2006. This panel also works with the Moultrie moblie field modem, and with a Y-splitter can run both the camera and the modem on one solar panel.
This solar panel comes with an LCD screen that indicates that amount of internal charge the batter has, and is equipped with a 10ft cord, giving you the ability to mount the panel away from the camera, to get the most amount of light in your area.
Spy Point Solar Panel
The Spypoint solar panel is a 6.3″ x 4.7″ solar panel that works on a 12 volt battery system. It comes with a 9 ft cord and a few extra connection cables as well. The problem with the Spypoint solar panel is that even though it is a Spypoint specific product, it doesn’t connect directly to any camera because this solar panel does not have an internal battery. It requires an external battery source like their 12 volt battery and charger set.
This makes using a solar panel a bit tricky. If you go this route, you need to not only use a solar panel, but then connect that solar panel to a 12 volt battery and then run a connection cable from the battery to the camera. In my personal opinion, if you want to use a solar panel on a Spypoint camera, the best choice is to simply just buy either the Link-S or the Solar-Dark camera, which has a solar panel built into the camera.
Stealth 12v Econ Solar Panel
Similar to the Spypoint solar panel the Stealth 12v Econ solar system is a solar panel that needs to be connected to an external battery source. Stealth offers a package deal around $50 (check Amazon here for current prices), which includes the solar panel, a waterproof battery box, a 12v lead acid battery, and 10′ cable with adapter.
Buying After Market
Buying after market solar panels can be a bit tricky for the first time solar panel user. Not only do you need to keep an eye out for the amount of voltage that your trail camera requires, there are many different amounts of amp output manufacturers use, and you will need to make sure your camera is compatible with each one. Aside from that, each camera on the market seemingly has its own specific connection, and the importance of wiring the solar panel to the trail camera correctly is vital in its ability to work efficiently.
If however you are able to steer your way through the jungle of compatibility you can find yourself in a world with many more options of high quality solar panels, and can even save yourself a few dollars in the process.