
Anyone who has ran trail cameras for any length of time has experienced the dreaded false triggers. This past spring I spent the time preparing a mineral site at one of my camera locations. Choosing the location carefully I cleared the ground to the dirt so that minerals could seep into the soil. I removed every branch, twig and leaf within a 20 yard radius, and carefully selected the perfect tree for the camera.
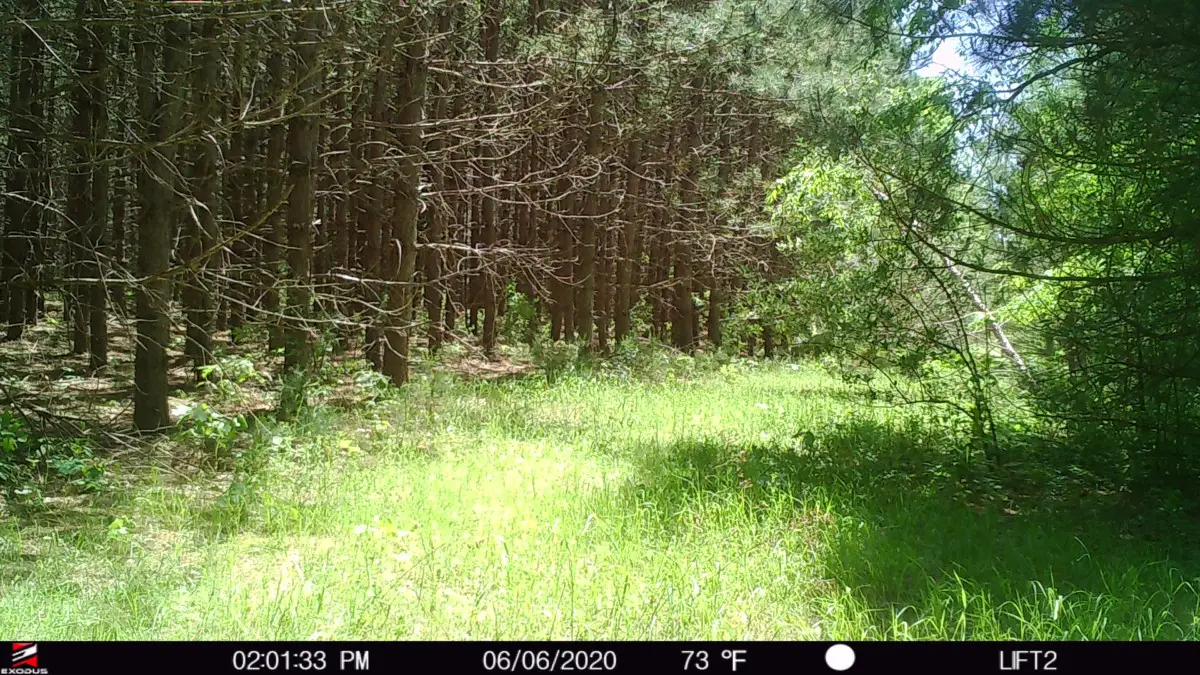
Two months later, I returned to the site to see that the mineral was worn to the ground, and my SD card was full! Upon review, I had collected over 5,000 photos of the sun rising and grass growing. Very few trail camera problems can be more frustrating.
The most common reason for trail camera false triggers is the direction the camera is pointed. It is important to face the camera either North or South, to avoid direct light from the sun rising or setting. The direct light not only can activate the PIR sensor, but can create a sudden glare or shadow that activates the motion sensor as well.
How a Trail Camera’s Detection System Works
The detection system for trail cameras are fairly simple systems to understand. All trail cameras on today’s market use what is known as Passive Infrared (PIR).
Everything on Earth emits a certain amount of infrared. PIR systems, monitor the amount of infrared in the detection zone of the trail camera. The detection zone is read and broken up into multiple smaller zones, all of which have an equal amount of infrared.
When an animal moves into an individual zone, it creates an imbalance of infrared in one zone, and signals to the camera to take a photo. In much older models of of trail cameras, all triggers were determined by movement. The PIR systems on today’s trail cameras provide faster trigger speeds, and more reliable detection, limiting the amount of false triggers a trail camera has.
This however does not eliminate false triggers completely, and having a basic understanding of how the PIR detection systems work, allow you as a trail camera user to set your camera up to help avoid even more false triggers.
Trail Camera Placement to Avoid False Triggers
The placement of a trail camera is the single most important aspect of getting quality photographs. Where, how, and when to place your trail cameras for wildlife photography, takes a sense of woodsmanship, and understanding of animal movements, skills that can only be learned over time. However, there are a few simple tricks you can do today to avoid your camera from filling up with an endless array of blank photos.
Place Trail Cameras Facing North and South
A large portion of false triggers often come from the direction in which the camera is placed. Placing a camera pointed directly East or West, will often result in direct light from either the sun rising or setting. This light not only can create an over exposure to the camera, but often will create glare and shadows that will will be detected as increased infrared by your camera.
As the sun begins to move throughout the sky, these incidental light movements will result in your camera to pick up multiple movements throughout the morning hours when rising or the evening hours when setting.
We often think of the Sun rising directly in the East and setting directly in the West. However, in the Northern Hemisphere, the sun’s trajectory is slightly South of our longitudinal line. So, whenever possible, face the trail camera North, ensuring that the sun will always be, even at a slight angle, behind the camera. This will not only give your camera better lighting for taking pictures of your target, but will keep the direct sun from ever contacting your detection sensor, and avoid false triggers created by the sun.
Angle Trail Cameras Toward Movement
Sometimes blank pictures are not false triggers at all, but instead a result of a slower response time of your camera. The trigger speed of your camera depends on the quality of camera, and can range anywhere from .25 second to 1.5 seconds. When photographing fast moving animals such as a deer, that extra second could be the difference between a buck trotting by or a completely empty photo.
Most often when setting a trail camera, people place their camera directly perpendicular to animal trails, resulting in perfect broadside photos as an animal walks by. This placement is actually what most manufactures suggest, but if that animal is running by, and your camera has a slower trigger speed, that animal is often through the camera’s field of view before the picture is taken.
Taking the time to angle your camera facing an animal’s trail at 45 degrees, will allow an animal to stay within the detection zone longer, giving plenty of time for the camera to take a photo, and keep the animal within its field of view, resulting in fewer missed photographs.
Hang Trail Cameras Higher To Avoid Moving Vegetation
Often it is more advantageous to place your camera a little higher and slightly tilt the camera down toward your target area. This will ensure that you will keep your camera above the native vegetation, and slightly distance your camera from potential obstacles.
When running trail cameras from early Spring to late Summer, tall grass, ferns, and leaves, are all objects that not only emit infrared, but easily move in the wind. As a few blades of grass move back and forth, they can easily cross the individual zones, and create an imbalance in infrared, creating false triggers
The closer an object is the easier it will be for the camera’s detection sensor to pick it up. The slight distance created from raising your camera, could be the difference between taking photos of grass gently moving in the breeze, and missing the subtle movements all together.
How to Prepare Trail Camera Sites to Avoid False Triggers
While there are ways to hang a trail camera that may eliminate some of the false triggers, some of the best things you can do is prepare trail camera sites to eliminate many of the objects that cause false triggers to begin with.
Clearing Areas Around Trail Cameras
When setting up a trail camera it is important to prepare the area, by removing any obstacles that may interfere with your camera’s detection zone. Leaves, grass, and tree branches are all known to sway and move in windy conditions, creating movement that is detected by your camera.
When preparing a camera site during the Spring months, before green up, it is important to think ahead of seasons as well. As weather begins to warm, trees begin to grow leaves, and native grasses can create a jungle on the forest floor. All of these future obstacles will have an impact on false triggers down the road.
Mineral Locations
Using mineral locations and bait at camera sites is an increasingly popular tactic, especially during the early spring months, when natural green browse for animals are at a premium. It is important to remember that when using this method, the animals that you are trying to capture photos of will not be the only ones visiting these locations. Birds, squirrels, deer, bear, and all other sorts of wildlife will be attracted to use the same feeding opportunities.
If you are not particularly targeting photos of birds, they can become a nuisance in setting off the motion detection of your camera. What I like to do is turn down the sensitivity on the camera (more on this in a moment) and clear any over hanging branches that might be in the general sensor range of your camera. This will not eliminate the detection of birds flying in to grab a quick meal, but will keep them from landing on branches within the cameras view, ultimately keeping the activity of birds in trees around the food source off your camera roll.
Camera Adjustments that Help Eliminate False Triggers
Adjusting PIR Sensitivity
Not all trail cameras offer the ability to adjust motion and PIR sensitivity, but for those that do, it is worth the extra time to fine tune that setting for your application. It is important to remember that if you are looking for larger animals, such as deer or bear, the sensitivity can be turned down quite liberally, as larger animals are obviously easier to detect. However, if you are after getting photos of a rare song bird that is nesting near by, it might not be your best option for your objection.
Testing the sensitivity at different levels will take time and effort, but will pay off dividends when you find that sweet spot for your personal use.
Use Time Lapse Mode
One option to eliminate false triggers is to change your camera mode from detection to time lapse mode. If you are using your camera over a food source that is being visited most often at a particular time of day, it might be beneficial to only take photos at that time of day. You can set the camera in this mode to take pictures for only a few selected hours, and can choose to shoot a photo every 5 minutes during that period.
The draw back to this method would be that you will inevitably still have blank photos, but they will only be during that time period of the day, rather than intermittently throughout the entire day.
The nature of trail cameras is to take pictures while you are not there, so having control over all aspects is nearly impossible. You can think ahead and make all the camera adjustments, and hang your camera in what could be considered the perfect place, and still have a handful of false triggers. I have even had a leaf fall out of a tree an onto my camera getting stuck just in front of the motion sensor, resulting in a completely full SD card in 2 days. It is impossible to prepare for everything, but paying close attention to the details will cut down on the amount of blank photos on your next card pull.