
Recently, I was doing a few projects around the house, and was using a speed square to mark boards that needed to be cut. I began noticing the hundreds of different markings on the square, and began to Google what they were used for. Within a few short minutes, I realized that I had no idea how to properly use it, because I didn’t understand how it was designed and how it worked.
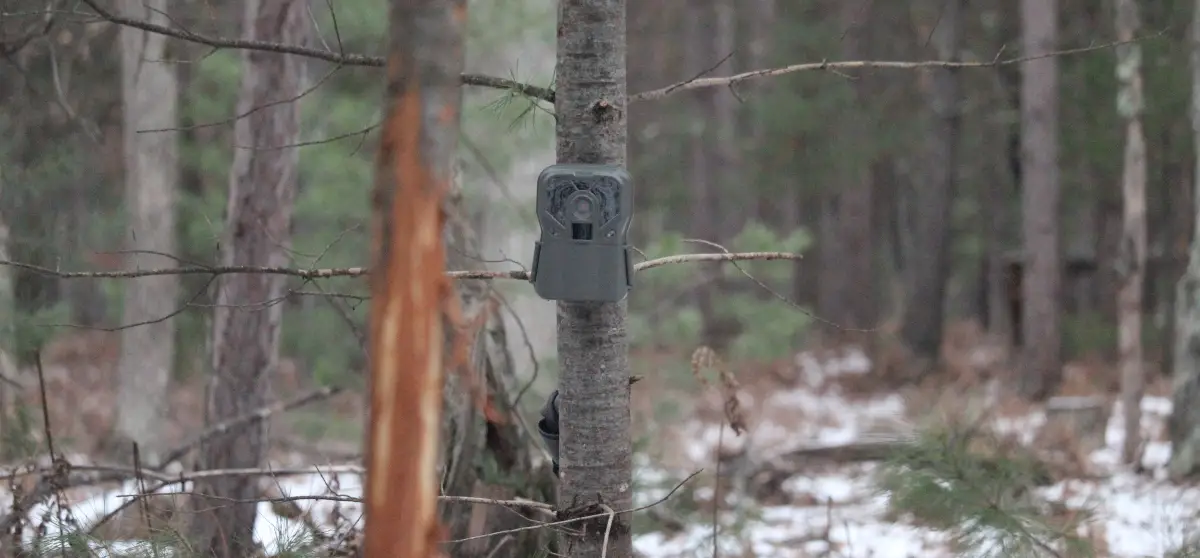
This revelation, reminded me a lot about trail cameras. Sure the average person can place a camera in the woods, point it toward a runway or scrape and allow it to take pictures, but a lack of understanding on how a trail camera works, would make it impossible to be able to use it to its full potential.
While trail cameras are simple in its basic form, there is a lot of technology that goes into the workings of a camera that are engineered to be in the field for years on end. Understanding the technology of detection circuits, exposure tables, interpolation, and light meters, will make you better equipped to get the most from your trail camera.
How a Trail Camera Works
There is a lot to unpack in how a trail camera operates. But before we go into great detail about how each individual aspect of how a trail camera works, here is a breakdown of the order of operations that takes place when a trail camera snaps a photo:
- An object moves into the detection zone, creating an imbalance of infrared that is detected by the PIR sensor.
- The light meter reads the amount of light in the surrounding area, and relays that information to the exposure tables.
- The exposure tables takes the information from the light meter, and adjusts the shutter speed and ISO of the camera
- If there is not enough available light, the exposure tables will send a relay back to the camera, engaging the infrared filter which drops in front of the lens of the camera, and the flash mode is activated.
- The shutter will open and close, allowing the light and image to the image sensor.
- The image sensor absorbs the photo, then sends the image through a computer program for interpolation
- The final image is uploaded and saved onto the SD card
Now that we know the operations of how a trail camera works, lets take a look at each individual step, and break down each one, giving you a better understanding of how a trail camera works.
1. Detection Circuit
There are two main features that every trail camera manufacturer talks about when promoting their cameras: Detection angle, and detection range. Both have a distinct purpose in the amount of area a trail camera’s detection circuit covers.
- Detection Angle- Is the angle from the camera that the camera can detect. The larger the angle, the more area the camera’s detection circuit can pick up. This seems very basic, and it is, but do not confuse detection angle with field of view. The field of view is the area in which the camera is able to take a picture.
- Detection Range- The detection range is the distance from the camera that it will be able to detect. Most detection ranges will very between 70-100′.
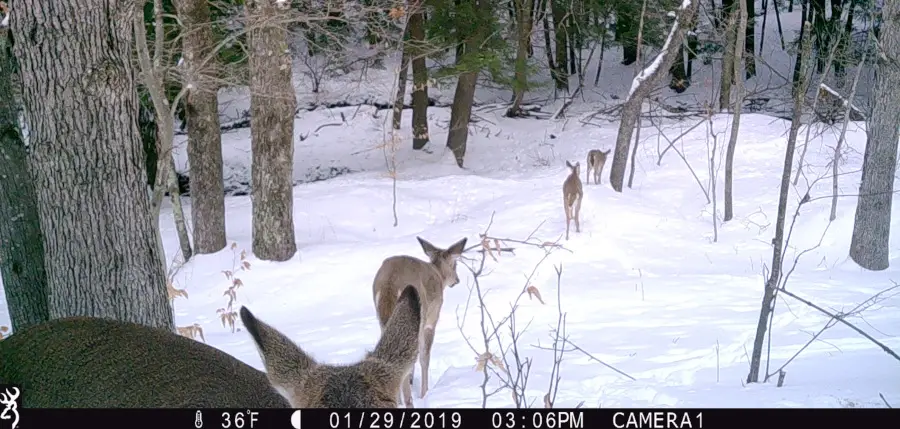
All trail cameras on today’s market use what is known as a Passive Infrared (PIR) detection circuit. It is a misunderstanding that trail cameras are motion activated. In fact, motion is not used at all in PIR systems. The detection circuit on your trail camera has two distinct aspects, the Fresnel lens and the infrared sensor.
The infrared sensor sits on the back end of the camera, and monitors the available infrared within the detection zone. The infrared sensor has two distinct zones, a right zone, and a left zone. The two zones have what is called a balance between them, and any time a new object moves into one zone or the other, it creates an imbalance of infrared. That imbalance is what triggers a reaction from the camera to take a photo.
The Fresnel Lens is the black curved part on the front of the camera, and it sits in front of the the infrared sensor. Its main objective is to break up the two distinct zones that the infrared sensor reads, into multiple smaller zones. The concave shape, is designed to spread the smaller zones across the detection zone in an alternating pattern, giving the camera more precise detection.
The reason trail camera manufacturers have went away from motion activation, and began using the PIR detection circuits is for two simple reasons:
- It cuts down on the amount of false triggers a camera has. A leaf blowing in the wind, would set off a motion activated camera, but with a PIR circuit, as long as that leaf stays within its zone, there is no imbalance of infrared.
- Infrared is a light that every object in the world has. By monitoring light, rather than movement, the trail camera has the ability to detect objects much quicker, resulting in the camera having the ability to have incredible trigger speed.
2. Light Meter
Basic Photography
In order to understand how a trail camera actually works, lets take a small step back and explore some very basic concepts in photography. Whether you are a professional photographer, or someone who just takes the occasional photo with their cell phone, the basics of taking quality pictures is the ability to manipulate light, either through artificial light (flash) or by adjusting the settings on the camera. The three main settings a camera uses to manipulate light are aperture, shutter speed, and ISO.
Aperture
The Aperture is a part of the lens of the camera. Similar to the pupil in our eyes, the larger the aperture is the more light that is allowed through. Conversely the smaller the aperture is the less light that is allowed in. Aside from the amount of light that the aperture allows into the photo, it has one distinct job, setting the depth of field.
The more light that is allowed into in photo through the aperture, the shallower the depth of field. You will often see this example in photography when there is a close up photograph of a butterfly on a flower. The photo is completely focused on the subject at hand, while everything around that butterfly seems to be blurred. This is a very shallow depth of field produced by a very large aperture.
With trail cameras, it is important to have a much deeper depth of field, where taking a photo of a large portion of the area is required. This however requires a small aperture, and as a result allows less light into the image.
On trail cameras, the aperture in the lens is a fixed aperture, meaning that the depth of field is predetermined by the manufacturer, and the amount of light through the aperture is constant. It is becoming more common for trail cameras to be equipped with two different lenses. One for night time images, the other for day. This allows the camera to have two different apertures in an attempt to make both night time and day time photos have better quality.
Shutter Speed
The shutter speed on a camera is how fast the shutter opens and closes. The main objective of the shutter speed is the ability to catch moving objects. The faster the shutter opens and closes the better action photos appear.
You will often see an action photo at sporting events. Fast shutter speeds are used to take single frames of action, without blurriness. The fast speed of the shutter, however, allows less light into the photo than a slower shutter speed.
A slow shutter speed is often used when taking photos of objects that do not move, such as a sunset or any other type of landscape photography. This will allow a tremendous amount of light into the photo, giving it better color and contrast.
With trail cameras, the speed of the shutter does change, depending upon the available light. This however, is the main cause of photos coming out blurry. A fast shutter speed is ideal for moving objects such as wildlife, but comes with the consequence of having less light in the photo.
ISO
The ISO of the camera is simply the sensitivity the image sensor has to the amount of light in the area. The more sensitive the ISO is set, the more light that the photo has. This does come with a drawback however, as the more sensitive the ISO is the more grain a photo will have.
There is an imperfect balance between manipulating light with the ISO in trail cameras. The crisp clear photos that we all desire, is due to the manipulation of the available light, but in order receive those photos, there needs to be a precise balance of aperture, shutter speed and ISO.
Light Meter
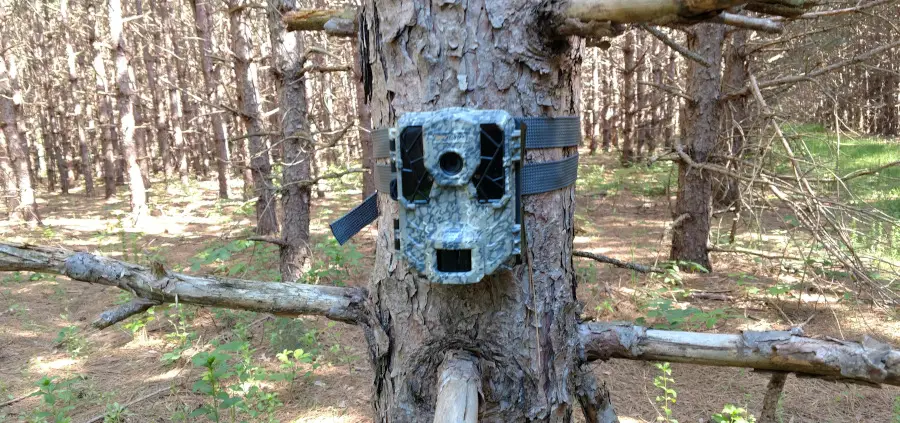
Aside from the PIR sensor there is another circuit that is always working on a trail camera, and that is the light meter. The light meter is the small round object on the front of the trail camera, and its one job is to always be detecting the amount of light that is in an area.
The ability to manipulate light is the essences of taking quality photos. Knowing the amount of light that is in an area, is the first step in this process.
When the PIR detects an imbalance of infrared, it activates the process of taking a picture. At that moment, the light meter, sends information about the amount of light in the area to what is called the exposure tables.
3. Exposure Tables
The exposure table that is on the back end of a trail camera’s firmware, is a previously written table that basically works as guide to tell the camera how to take the photo based on the available conditions. The amount of available light is one of those conditions.
The exposure table has many columns of data, all depending on the light available. With the information of the available light from the light meter, the camera matches that column in the table and automatically adjust the shutter speed, and ISO, with an algorithm that takes into account the predetermined aperture as well.
4. Flash
During night time photos, the light meter will determine that there is not enough available light in the area, and will initiate the flash on the trail camera. After the flash the light meter will again read the available light in the area, and send that information back to the exposure tables to determine the settings for shutter speed and ISO.
The moral of this, is that if you want to have good quality night time photos, the better the flash, the more light that is available to reduce the amount of blur that the trail camera will have to deal with.
The other aspect of the flash that is important to know is that when you are using an infrared light for a flash, the camera has a need to be able to detect that light in way where the photo will be seen. Since infrared light is invisible to the human eye, the camera then will drop an infrared filter in front of the lens in order to capture that available light.
5. Image Sensor
The image sensor sits on the back end of the camera, behind the lens of the camera. It works in the same way that film used to work in old cameras, as it is used to collect the image. When the shutter opens and closes, it absorbs the light, and image that it collected through the lens.
Image sensors have what is known as a native resolution. This is the amount of megapixels that it can actually produce. All trail cameras on the market today have a native image resolution between 1.6 and 5. That means the most amount of megapixels any trail camera can take it 5MP.
So the question that comes up often is: how can a manufacturer claim that their camera’s are 20 MP? Well the simple answer is that this is a sly marketing trick. The camera is only able to take 5 MP but there is a program on the firmware of a trail camera that is called interpolation.
6. Interpolation
Interpolation is the process of duplicating megapixels. So, the camera only takes 5 mp worth of individual pixels, and a computer program essentially just duplicates the pixels at a rate of 4 times, making it appear as though there is more pixels in the photo.
When looking at the photo, it is hard to tell that there are duplicated pixels. But in those moments when you begin to zoom in on the photo, you will see that the image becomes distorted, and what appeared to be clean lines are actually very blurry.
7. SD Cards
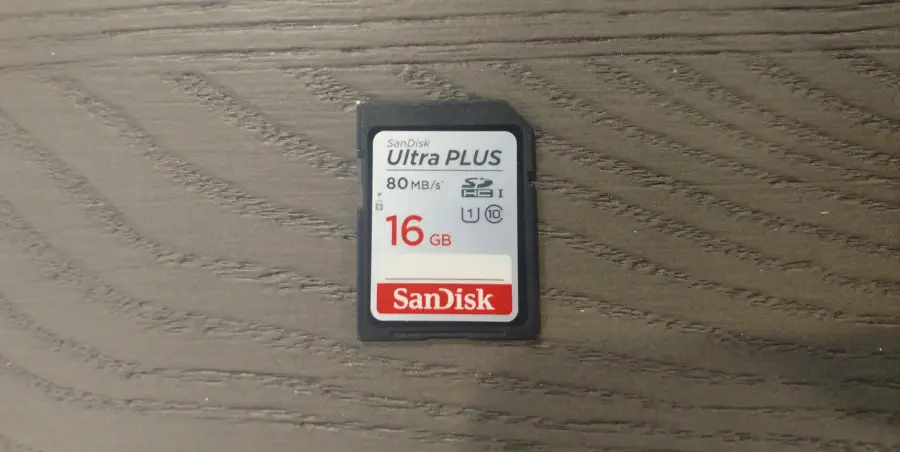
There is a lot of information that can be covered about SD cards, and you can find a really good resource here about choosing the right SD card for your trail camera. The two most important aspects of choosing an SD card for your camera is the capacity of the card and the speed the card writes.
SD Card Capacity
When a trail camera interpolates an image, it adds pixels to the photo. Those added pixels increase the file size of a photo, and thus takes up more storage space on the SD card. The general rule of thumb when it comes to storage capacity, is that an 8 MP photo will take up approximately 1 GB for every 350 photos.
Below is a breakdown of the megapixel size of the photo and the correlation to the approximate amount of photos each size SD card will hold.
| Megapixels | Aprox. File size | 2GB | 4GB | 8GB | 16GB | 32GB |
| 5MP | 1.5 MB | 1144 | 2288 | 4577 | 9155 | 18310 |
| 8MP | 2.4 MB | 715 | 1430 | 2860 | 5720 | 11440 |
| 10MP | 3 MB | 572 | 1144 | 2288 | 4577 | 9155 |
| 12MP | 3.6 MB | 476 | 952 | 1904 | 3808 | 7616 |
| 16MP | 4.8 MB | 357 | 714 | 1428 | 2856 | 5712 |
If you are running your trail camera in video mode, the general rule is when you are running your camera at 1080p HD resolution, for every 1GB an SD card will hold 30 videos, that are 30 seconds long. The following graph show approximate amount of minutes of recorded video that can be held on an SD card based on the video resolution
| 4K (24 MBPS) | 1080p (8 MBPS) | 720p (5 MBPS) | |
| 4 GB | 20 Min | 60 Min | 80 Min |
| 8 GB | 40 Min | 120 Min | 160 Min |
| 16 GB | 80 Min | 240 Min | 320 Min |
| 32 GB | 160 Min | 480 Min | 640 Min |
| 64 GB | 320 Min | 960 Min | 1280 Min |
Writing Speed
The writing speed of an SD card is the speed in which a photo will be able to be written onto the SD card. This speed that is written as megabits per second (Mbps) is extremely important when taking multiple pictures per trigger, as well as when writing video on to the SD Card. The faster the card’s writing speed the faster the process.

With standard SD cards, the cards speed is written directly on the card with the number circled. Standard writing speeds are 2, 4, 6, 8 and 10. These numbers represent the amount of Mbps the card is able to write.
As you can see from the tables above, a standard SD card with a writing speed of 10 Mbps is capable of handling almost any photo or video. The only exception to this is if you are using 4k video mode on your trail camera. In this case you would need to use an SD High Capacity card (SDHC).
The SDHC comes in three writing speeds 1, 2, and 3. These numbers are usually encompassed by a U on the face of the card. The numbers are representative of the writing speed in multiples of 10. For example a SDHC card with a speed of 2 is actually 20 Mbps. (2 x 10= 20 Mbps). If you are using 4k video, you would want to have a class 3 cards with a writing speed of 30 Mbps.
Conclusion
While the inner workings of a trail camera, might have seemed to be a bit overwhelming, as you have learned there are just a few basic steps between detecting an animal to writing the final photo onto your SD card. Knowing these basic concepts of how a trail camera works, will make you a more informed buyer, and more efficient in setting up and using your trail camera.