
If you are like me you are always in need of just one more trail camera. It doesn’t matter if you have a hundred or just one, there is always a small woodlot that you feel just isn’t covered to your liking. It becomes an obsession to cover every possible route a deer might take, just in case they are avoiding your other 87 cameras.
Trail cameras can be expensive, and the money you can spend on batteries and SD cards could run a small country’s economy. Not to mention the time and energy it takes to monitor and maintain a slew of cameras. So in a feeble attempt to ease my wife’s concerns, I decided to tackle her pointed question; “How many trail cameras do you need?”
Having one trail camera for every 30 to 40 acres is a good general rule of thumb. The number of trail cameras you need, however, can depend on a variety of factors such as terrain, travel corridors, and the information you are trying to collect.
Data Collection
There are potentially hundreds of uses for a trail camera, anything form security purposes to finding out what is digging under your shed. For the purpose of this article I will be focusing solely on using trail cameras as a tool for hunting America’s most popular game animal, the whitetail deer.
When focusing on whitetail deer, there are two reason to collect data, to acquire a survey of what deer are on a particular property and to understand how those deer use the property in a way to pattern their activities. While the collection of data for each is vitally important to hunting success, each has its own tactics, and need for cameras.
Survey
Wildlife surveys can come in a wide variety of forms from, fawn recruitment, buck to doe ratio, deer density, or just general observations of age structure on a property. According to the Quality Deer Management Association (QDMA), the leading non profit organization in whitetail conservation, you can be successful in running trail camera surveys with as few as one camera for every hundred acres of land.
The QDMA recommends creating a grid across your target property, breaking down each section to 100 acre chunks. Each section you should have a mineral station to attract deer in a centrally located position. Of course one camera at each station should suffice in creating data for the type of survey you are after.
Patterning
While surveys are conducted to draw animals to a location to gain general information of the deer herd, patterning is used to find how deer use terrain features to move, and when, why, and where they are moving. This type of data collection is much more involved and could require as many as 3 or 4 cameras in a small 10 acre lot, just to conclude an accurate travel direction.
In one setting I had placed two cameras merely 40 yards apart from one another and during a 3 month evaluation had never taken pictures of the same deer on both cameras. It concluded to be two separate travel corridors for two separate family groups, that happened to come within close proximity to one another.
So, the number of cameras you will need to pattern a deer? The exact number can be endless, but the best way to determine that is to break down the property from a 1,000 foot view, create a patterning strategy, and use the appropriate cameras to get the job done efficiently.
Breaking Down a Property
Food Sources
Food sources are a great place to start in patterning deer. Whether it be a mineral site, a food plot, an oak ridge or an old crop field, deer congregate in areas that supply food. Placing a camera near a food source will give you an idea of what time of day deer frequent these areas, and will also give you the ability to see which direction they enter the food source from. This information will be valuable as you begin to back track a deer’s movement in an attempt to pattern them
Pinch Crossings
Pinch crossings can be anywhere the terrain features allow deer to move through an area easier. Shallow creek beds, a down section of an old fence, or a drainage that cuts through a steep bluff, will all funnel deer. Placing a camera in these locations will give you a time of day and a sense of general movement patterns by certain deer.
Edge
Deer thrive in terrain that has a lot of edge cover. They use these areas to not only travel, but also to browse (browse consists of 80% of their daily diet). Edge cover is easiest to describe as anywhere the habitat transitions into a different habitat. This can be easily seen from aerial maps around crop fields. A section of hardwood timber runs along the edge of a corn field. This is a hard edge, and very simple to recognize.
Deeper in the woods, the same type of transitions occur, but might not be as obvious to an untrained eye. Transitions between aspens and pines, or cattail marsh and dogwoods, are all great places to place cameras. These types of transitions are where deer will do most of their feeding during daylight hours, and an advantageous place to intercept them.
Patterning Strategies
The basic idea of patterning a deer is to find out where they come from where they go, and how often they use that pattern. Once you find deer by using a camera at food sources, pinch crossings or transition edges, you have two main strategy options to pattern them.
Back Tracking
Back tracking deer is as simple as it sounds. You have taken photos at a certain location such as a food source, and you begin to track the deer’s movement back to where he came from.
Knowing what direction that deer had entered the food source, you can follow his trails back into the cover, until you find an area where you lose certainty of which direction he came from. Placing a camera there, while leaving your original camera on the food source will not only answer the question of which direction, but will also allow you to monitor the food source to ensure he was still using it. In the scientific world, this is called a consistent variable.
Once you confirm your suspicions of direction, keep moving the cameras back, one camera at a time, leaving the camera at each spot for at least a week or two, to ensure the movements are consistent. For each property you use this technique it will take time to find where the deer is bedding, but you will only need 2-3 cameras.
Blanketing
Blanketing is simply just that. Covering an entire area with trail cameras, and going through pictures to see where deer have traveled on certain days, and draw conclusions on the waypoints that the deer have been photographed. This will give you a general movement pattern in the shortest amount of time, however the tactic requires a significant greater investment in the number of cameras you will need to use.
If you decide that blanketing an area is the best option for you, you will need to make sure that you have enough cameras to cover food sources, pinch points, bedding areas, staging areas, common travel corridors, and creek crossings. In order to get an actual understanding of specific deer movements on a particular property, you might need to run 5 or 6 cameras for every 100 acres. This can be a significant investment.
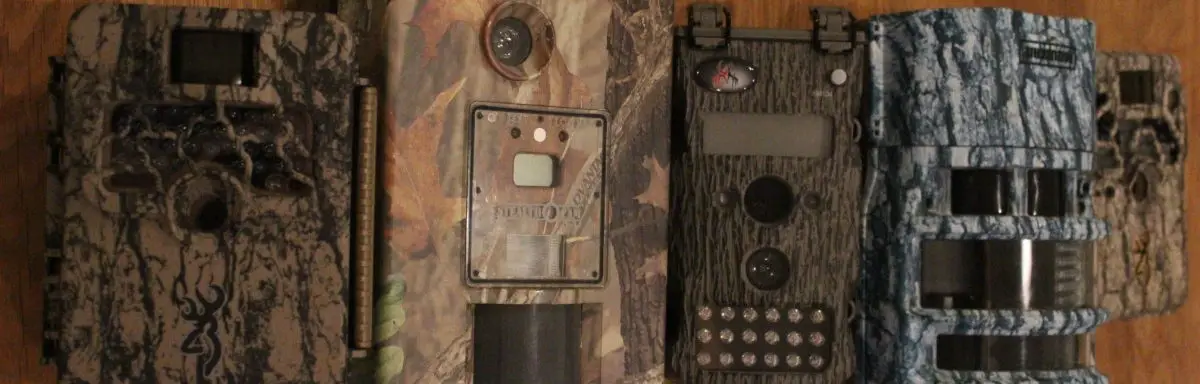
Camera Types
The type of camera you use will have a significant impact on the quantity of cameras you will need. For instance, the Moultrie Panoramic 180i, is a camera that has a 180 degree photo and detection range. Using this camera in those areas where you will need multiple angles to cover all the movement, will help eliminate the need for an extra camera in that area.
Using a camera with a great time lapse feature would allow you to watch an entire food plot with just one camera, eliminating the need for multiple cameras set up around the field. I personally really enjoy the Browning Buck Watch timelapse mode that comes standard on all of Browning’s command series cameras. Its simple to set up, simple to use, and it comes with a free downloadable program to view all of your photos.
Video mode is another overlooked feature on a trail camera. Less than 20% of trail camera operators use this function. When patterning deer, the vital information, like how a deer uses the terrain to travel, deer interactions, and direction of movement are all easily displayed with a 30 second video.
How Many Trail Cameras You Need
So, that brings us back to the question at hand: How many trail cameras do you need? Obviously there are so many factors in determining this answer, that a specific numerical response is impossible. A general rule of thumb is that one camera for every 30-40 acres would be a good starting point. And of course if my wife asks, I always need just one more.