
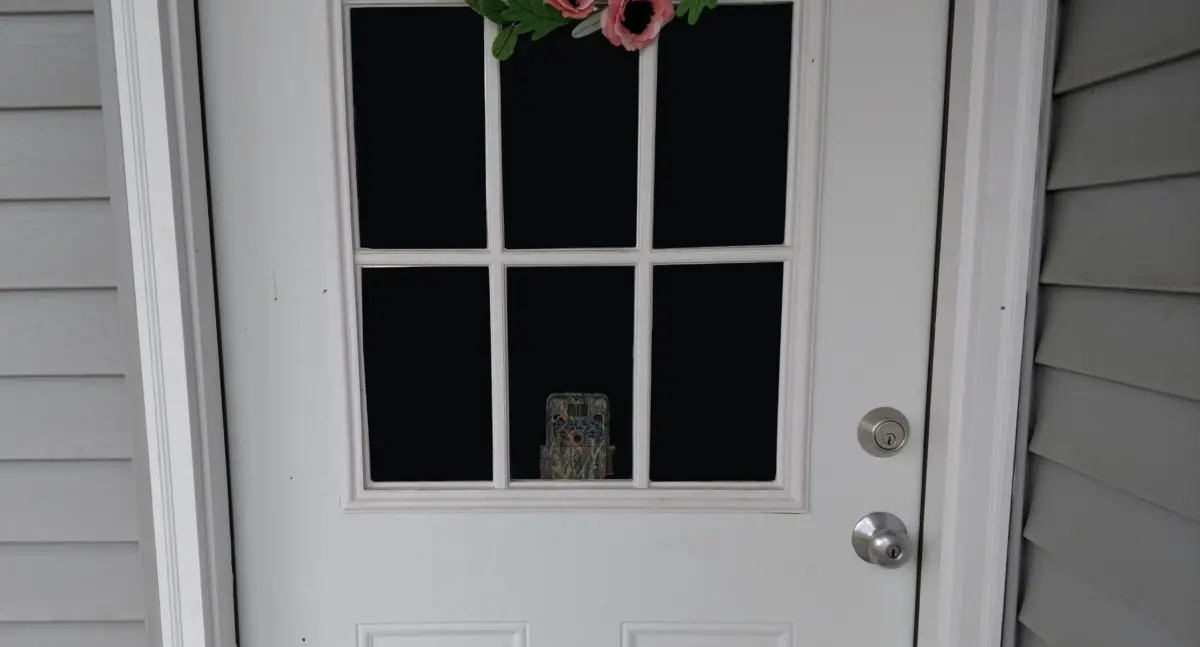
It has become more and more common to use trail cameras for security purposes around the house. Placing them in bushes, on trees, or hanging them from the eves. All of these are great options for protecting your home, but there has been a new wave of using trail cameras turned security cameras, through the front window of houses to catch people coming to the front door.
In general this seems like a good idea. An easy way to protect your camera from being stolen, all while keeping an eye on the front of the house. But this brings us to the one glaring question: Do trail cameras work through glass?
A trail camera in fact does not work through glass. With glass between the camera and the subject, the PIR sensor of the trail camera can not read the infrared differential that it needs in order to trigger the camera to take photos.
Lets take a more in depth look at how a trail camera senses activity, and other reasons why placing a camera behind glass would not work.
How a Trail Camera’s Detection Circuit Works
It is a general misconception that trail cameras are motion activated. This is widely false, as almost all trail camera’s detection circuits begins with two very important aspects a passive infrared sensor (PIR), and the Fresnel lens.
The Fresnel lens, the curved black lens on the front of the camera, has two specific jobs, to condense light to the PIR sensor and to break up the detection range into smaller zones. Each individual zone or “window” collectively works together to make up the entire detection range of your camera.
The PIR sensor however, is mounted behind the Fresnel lens onto the circuit board of the trail camera. While sitting idle the PIR sensor is always scanning the available infrared within its detection range. The infrared that it detects is the “normal” for the area.
The PIR sensor, monitors each zone through the Fresnel lens and creates a balance of available infrared in the area. Every tree, shrub, and blade of grass produces infrared, all of which are balanced evenly throughout the different zones.
When a person, animal, or even a vehicle enters into an individual window of the detection zone, it too emits its own infrared. This detection of new infrared into a window, creates an imbalance of infrared between the individual windows, and triggers the camera to take a photo.
While this may seem as though it is very technical in nature, the biggest take away is that trail cameras are not motion activated, but instead are activated by the movement of detected infrared within a zone. The reason they are designed in this manner is twofold:
- It eliminates false triggers produced by a single blade of grass blowing in the wind
- The detection circuit of a trail camera, using PIR systems is much faster, using light wave lengths creates a lighting speed trigger.
In this instance however, the drawback to being equipped with passive infrared is that it does not work through glass.
Why Infrared Does Not Work Through Glass
Windows are transparent and infrared should be able to pass through clear glass, right? In general this train of thought makes sense. The truth is however, the reason we can see through a window is because the window allows a the wavelengths of light to enter through it.
The infrared that trail cameras use is known as thermal infrared, which is light produced by matter at surrounding temperature. The light wavelengths that are produced in thermal infrared are longer wavelengths than that of the light we are able to see. This longer wavelength causes atoms to bounce or “jiggle” and this movement creates heat.
The heat that is created through thermal infrared is a non harmful type of radiation. Light produced radiation is strongly absorbed by the glass, not allowing the PIR sensor of the camera to read the available infrared outside the window.
In short, glass will block the trail camera’s ability to use its detection circuit.
Other Considerations About Glass
Weather you are taking pictures out of your trail camera, or are a professional photographer with thousands of dollars invested in equipment, the essences of taking photographs revolves around manipulating light.
So, even if you are able to find a trail camera that is purely motion activated, you are still going to have to overcome two major obstacles in manipulating light while taking photos through glass: day time reflection, and nighttime flash reflection.
Day Time Reflection
Direct light allows the wavelength produced by light to pass through clear windows. However, glass is not perfectly transparent, and while most light passes through the glass, some of the light’s waves are being reflected when it strikes the surface of the glass.
Trying to take a photo through glass, as some light reflects off, creates an imbalance of light, causing the photo to not only have a reflection from the light produced outside, but creates a mirror effect when taking the photo from the inside.
The result of photos taken through glass will often create a reflection of the camera in the window, as well as “light crystals” that are formed from the outside light reflecting. This becomes a big challenge to taking clear photos through glass.
Nighttime Flash Reflection
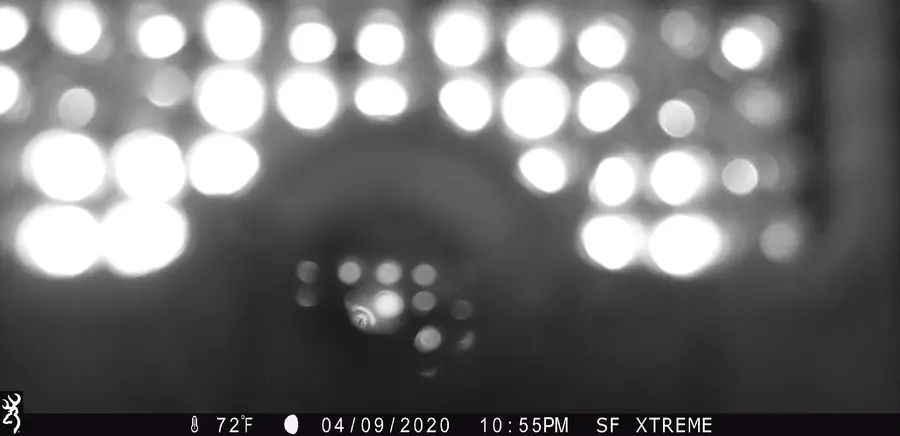
If you are using a trail camera to monitor night time activity, placing your camera behind glass has even more of a drastic affect on the photo. Trail cameras have what is called a light meter, which reads the available light in the area. During night time photos, the meter does not read enough light, and thus activates the trail camera’s flash.
All but a handful of trail cameras on the market today use infrared lighting to work as a flash. As we have previously discussed the wavelengths of infrared are too long for them to pass through glass, and the result is some of the light being absorbed by the glass, the rest reflecting back into the camera. The result: a photo of the flash being reflected back into the camera lens creating a “whiteout” picture.
Camera Placement Alternatives
If the reason you are in need of using a trail camera through glass is for surveillance of your front door, there are a number of alternative locations you can place your camera.
- Shrubs and bushes- often houses have different types of decorative shrubs that line the walkway up to a house’s front door. Cutting a small in the shrubbery and sticking the camera directly into the plant, only allowing the lens, Fresnel lens, and the light meter to be shown. This will give you concealment for your camera, and the ability to monitor the front door.
- Trees- hanging a trail camera high into a front yard tree and angling the camera down to point directly at the door.
- Eves- This comes with some installation, but you can buy a mount that will secure tightly to your house. I have used the Pana Vise micro mount, and is relatively easy to use.
If none of these seems to be a good option, and you still are in need of keeping surveillance on your front door, there is plenty of home security cameras that are more applicably designed to work around the house. On my house I personally use the Ring door bell. It is simple to install and connects directly to you mobile device via WiFi.